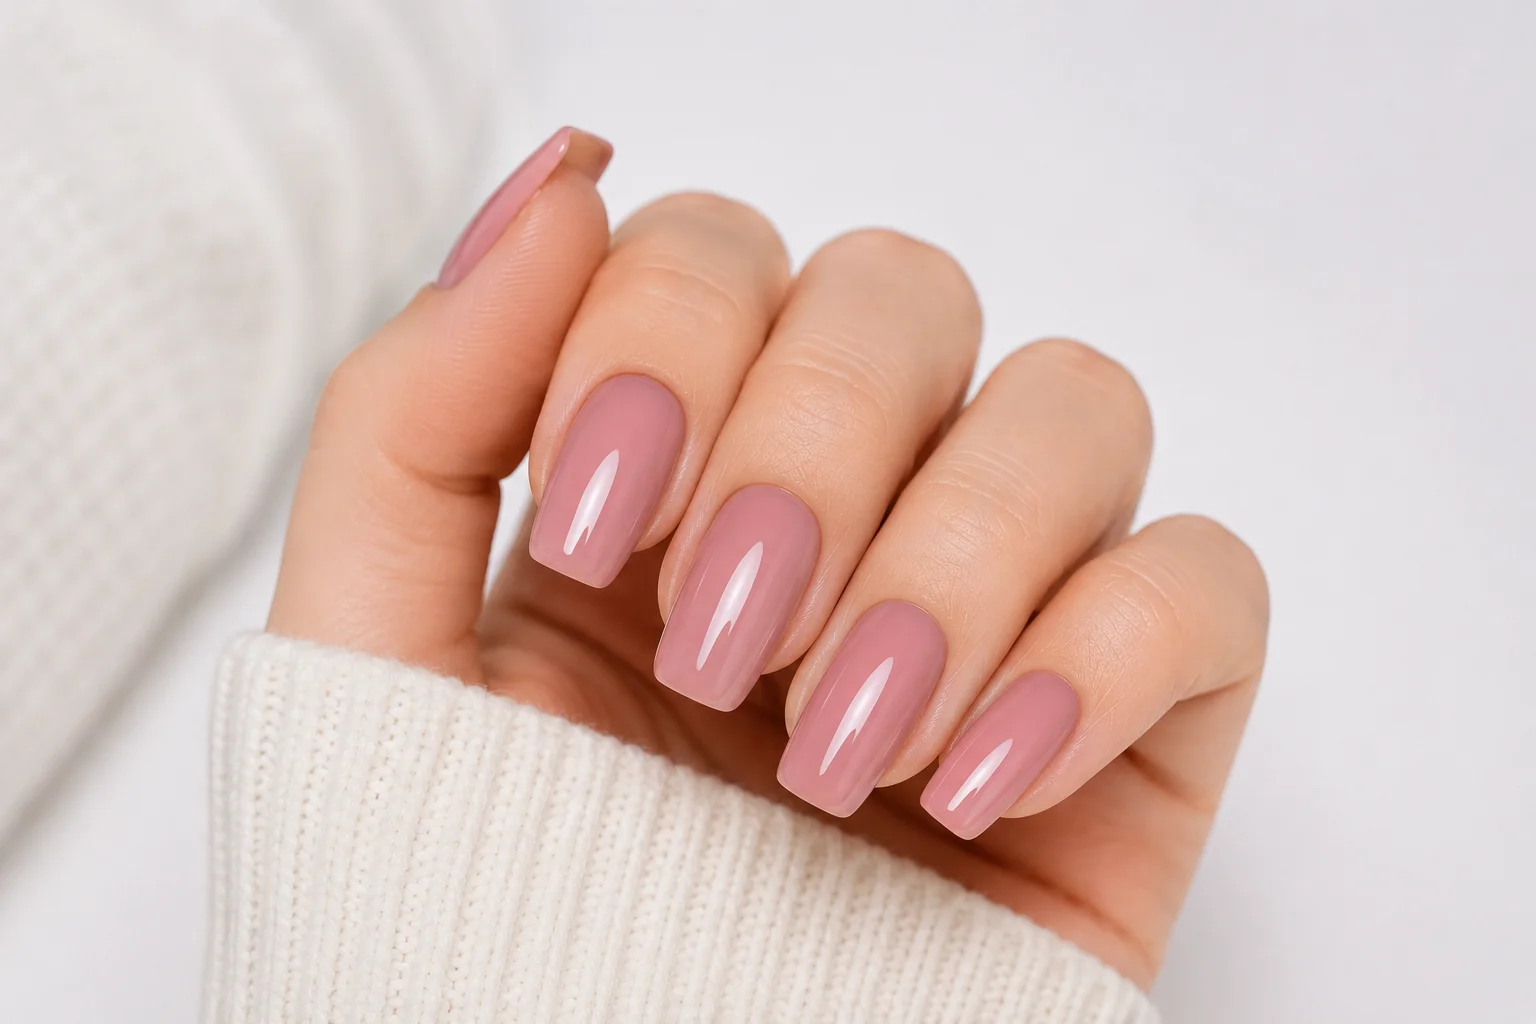
Your gel manicure is three days old and you already want a different color. Booking a removal appointment feels like overkill. So the question becomes whether you can just paint over the gel and move on. The answer is yes, but with conditions. Get those conditions wrong and the regular polish peels off within hours or lifts the gel underneath it. Get them right and you add a week of wear in a different color without touching the original gel.
Can You Put Regular Nail Polish on Gel Nails
Yes. Regular nail polish will not chemically interact with the cured gel underneath but will lie on it. The gel layer is a hard surface on which the regular polish will stick, like a regular nail on a natural nail.
The difference is that regular polish will not adhere to gel as it would to the natural nail surface. Gel is non-porous. Therefore, regular nail polish uses the natural nail’s slight texture and porosity as part of its sticking to the nail. The adhesion is less than normal in terms of a completely smooth surface, non-porous gel surface, which can lead to accelerated chipping of regular polish over the gel when compared to naturally grown nails.
This doesn’t mean that it doesn’t work right away. With the right base and top coat, regular nail polish over gel will last 3-5 days before chipping is seen.
Does Regular Nail Polish Stick to Gel Nails
Regular nail polish sticks to cured gel nails but the hold is weaker than on a natural nail. The glossy surface of cured gel is the main reason. High gloss surfaces reduce adhesion for any polish or paint applied on top.
Lightly buffing the gel surface before applying regular nail polish significantly improves the adhesion. A few passes with a fine grit buffer removes the top gloss layer and creates a slightly rough surface that regular polish grips much better. This step alone can extend the wear of regular polish over gel from two days to five or more.
Do not buff aggressively. The goal is to dull the shine without filing through the gel layer. Light pressure, a few passes, and you are done. Wipe the surface with isopropyl alcohol after buffing to remove dust and oil before applying any polish.
How to Apply Nail Polish Over Gel Nails Correctly
Start with clean, dry hands. Any oil or residue on the gel surface weakens the polish adhesion before the first stroke.
Buff the gel surface lightly with a fine grit buffer to remove the gloss layer. Wipe with isopropyl alcohol and let dry completely.
Put on a light base coat on top of the buffed gel. This forms a layer between the non-porous gel and the normal polish layers to follow. Without a base coat the regular polish is applied straight on the gel and the slip on the surface is seen as chipping within 24 to 48 hours.
Use regular nail polish and apply in a thin layer twice. Thin coats dry quicker and are more uniform on a gel than thick coats. The thick applications pull at the smooth gel beneath them and cause imperfections in coverage.
Top coat to seal in. The top coat shields the regular polish colour layer and the gel from external damage. If there is no top coat, the edge of the regular polish at the tip of the nail wears down rapidly, as there is no protection of the edge from daily surface contact.
What Happens Without a Top Coat
Regular nail polish over gel without a top coat chips at the free edge within one to two days under normal hand use. The edge is the thinnest and least supported part of the polish application, and without a sealed top coat layer that edge catches on surfaces and peels back progressively.
The top coat also helps to keep the layer of gel below from staining. If left unsealed, some of the typical nail polish pigments, especially dark reds and bright oranges, can bleed through the surface of the gel. This stain appears as a shade in the gel with the removal of the normal polish.
A quick-dry top coat applied in a thin layer and allowed to fully harden before hand contact is the minimum required step for any regular polish application over gel that needs to last more than a day
Will Gel Nail Polish Dry on Its Own
The Gel nail polish is not air-dried as the conventional nail polish is. If no UV/LED lamp is used to cure the formula, it will stay tacky and moist forever.
The curing process is a chemical reaction; the light wavelengths emitted by a UV or LED lamp are used to start the curing process. It’s in this way the photoinitiators in the gel formula would not be activated when no reaction occurred and the polish would remain liquid for a long time after it has been left in the open air.
That’s the main drawback of gel nail polish for any consumer, and it’s the most often confusing aspect. Any woman who has ever tried to apply her own gel nail polish at home knows that she requires a lamp. If there is no one, then the product doesn’t function at all.
Most formulas of gel nail polish can be cured with LED lamps in 30 to 60 seconds per coat. UV lamps cure a wider variety of gel formulas and some specialty products, and take slightly longer.
How Do You Put on Gel Nail Polish
Step 1 — Prep the nail
Push back cuticles, buff the nail surface lightly, and wipe with isopropyl alcohol. Oil-free and matte is the correct starting surface for any gel application.
Step 2 — Apply base coat
Thin layer of gel base coat across the entire nail. Cure under the lamp for the time specified on the product, usually 30 to 60 seconds for LED.
Step 3 — Apply gel nail polish
First thin coat of gel color. Cure fully. Second thin coat of gel color. Cure fully. Two thin coats build better color depth and last longer than one thick coat.
Step 4 — Cap the free edge
Run the brush along the tip of the nail with each coat. This seals the edge and prevents the gel from lifting at the tip during wear.
Step 5 — Apply top coat
Thin layer of gel top coat. Cure fully. Some top coats leave a tacky inhibition layer after curing, which requires wiping with isopropyl alcohol to remove. No-wipe top coats skip this step entirely.
Best Gel Nail Polish — What to Look For
The best Gel Nail Polish for home use has three qualities: consistent pigmentation that covers in two thin coats, a formula that cures cleanly without clouding or yellowing, and a soak-off removal that does not require excessive filing.
Jelly and sheer gel formulas add a fourth quality — translucency that creates a glass-like depth regular polish cannot replicate. Sheer pink, milky white, and nude jelly gel polishes are consistently the most searched home gel polish formats because the finish looks professional without requiring skilled application.
Cat eye gel nail polish adds a magnetic particle component to the standard formula. The particles align under a magnet before curing to create a directional metallic streak across the nail. This format requires a magnet tool and slightly more technique than standard gel application but produces an effect that is not achievable with any other polish type.
Cat Eye Gel Nail Polish — Special Considerations
Cat eye gel polish applies the same way as standard gel but with one additional step. After the color coat goes on, hold the magnet over the nail for ten to fifteen seconds before curing. The magnetic particles in the formula align along the field lines during this window and create the cat eye streak. Cure immediately after the magnet step without moving the nail.
The magnet step happens before the lamp, not after. Curing first locks the particles in random distribution and the cat eye effect does not appear. Apply, magnet, cure is the correct sequence every time.
Cat eye gel nail polish does not work with regular polish applied over the top afterward. The regular polish sits on the smooth cured gel surface and covers the cat eye effect completely. If you apply cat eye gel polish, keep the top coat as gel to preserve the metallic streak.
Gel Nail Polish Kit — What You Actually Need
A complete gel nail polish kit for home use needs four things: a gel base coat, gel color polish, gel top coat, and a UV or LED lamp.
Everything else is optional. Nail art brushes, dotting tools, and striping tape expand what you can do with a cured gel surface but they are not required for a basic gel manicure at home.
The lamp is a non-negotiable item. Any gel nail polish kit that does not include a lamp requires you to have one already or purchase one separately. A small LED lamp covers most home gel applications without taking up significant space.
For beginners who want to try gel nail polish at home, the lowest cost option is to buy a complete gel nail polish kit with multiple shades, base coat, top coat and a gel polish lamp in one.
Nail Art Tools for Gel Nail Designs
The gel nail polish will form a more manipulable surface than standard nail polish since it does not harden until it is completely cured, providing more time for nail art projects.
Exposing geometric or color-block designs with clean lines is difficult with regular polish, but can be done easily by stripping the tape from a freshly cured base coat of color before the color cures. Dotting tools can be used to create dot patterns in a wet gel color layer to produce precise patterns without spreading. Used on a cured gel base layer, liner brushes will enable freehand detail work and fine stroke designs prior to applying the top coat.
Nail art tools that work on regular polish all work on gel with the advantage that the gel surface either stays wet for technique work or cures rigid for layering work, depending on the step.
Nail Charms on Gel Nails
Gel nails are the best surface for Nail Charms application because the tacky uncured top coat layer provides a natural adhesive window that holds charms without additional glue.
Apply a gel top coat and leave it uncured. Press the charm into position with tweezers while the coat is still tacky. Hold for ten seconds, then cure under the lamp with the charm in place. The gel hardens around the charm base and locks it against the nail surface.
Seal the edges of each charm with a second thin layer of top coat after the first cure. This locks the charm perimeter and prevents lifting at the base where daily contact with surfaces starts.
Browse the full nail charms collection, gel nail polish sets, and nail art tools at Nail Perk. Every product links directly to its verified Amazon listing.
FAQs
Can you put regular nail polish on gel nails?
Yes. Lightly buff the gel surface first to remove the gloss layer, apply a thin base coat, two coats of regular polish, and seal with a top coat. Applied correctly, regular polish over gel lasts three to five days.
Will gel nail polish dry on its own without a lamp?
No. Gel nail polish requires UV or LED light to cure. The formula stays wet and tacky indefinitely without lamp exposure. A lamp is not optional for any gel nail polish application.
How do you put on gel nail polish at home?
Prep the nail, apply and cure base coat, apply and cure two thin color coats, apply and cure top coat. Cap the free edge with each coat. Use an LED lamp for 30 to 60 seconds per cure step.
How long does gel nail polish last?
Two to three weeks with proper prep and application. Skipping the base coat, applying thick coats, or missing the free edge during application all reduce wear time significantly.
Can you use nail polish remover on gel nails?
Standard acetone nail polish remover removes regular polish applied over gel without affecting the gel underneath. Removing the gel itself requires soaking with pure acetone for 15 to 20 minutes, not standard nail polish remover.
Does cat eye gel nail polish work differently than regular gel?
Yes. Cat eye gel polish requires a magnet held over the nail before curing to align the metallic particles and create the directional shimmer effect. The rest of the application process is identical to standard gel polish.